Home>Races & Events>How Runners Are Making Their Race Day Photos Look Professional
Races & Events
How Runners Are Making Their Race Day Photos Look Professional
Published: August 6, 2026
Finish-line chaos ruining your race shots? Here's the simple editing workflow recreational runners use to get clean, share-worthy photos every time.
(Many of the links in this article redirect to a specific reviewed product. Your purchase of these products through affiliate links helps to generate commission for Therunningadvisor.com, at no extra cost. Learn more)
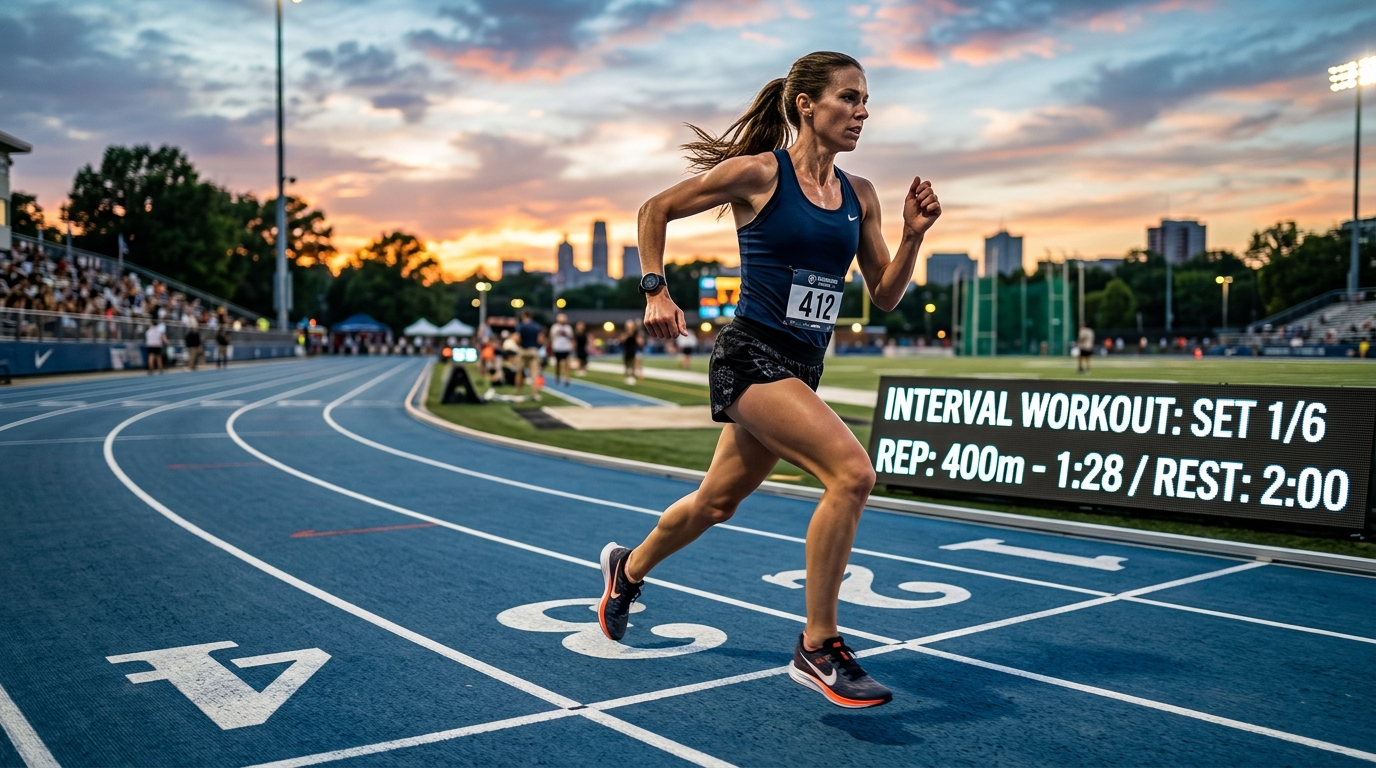
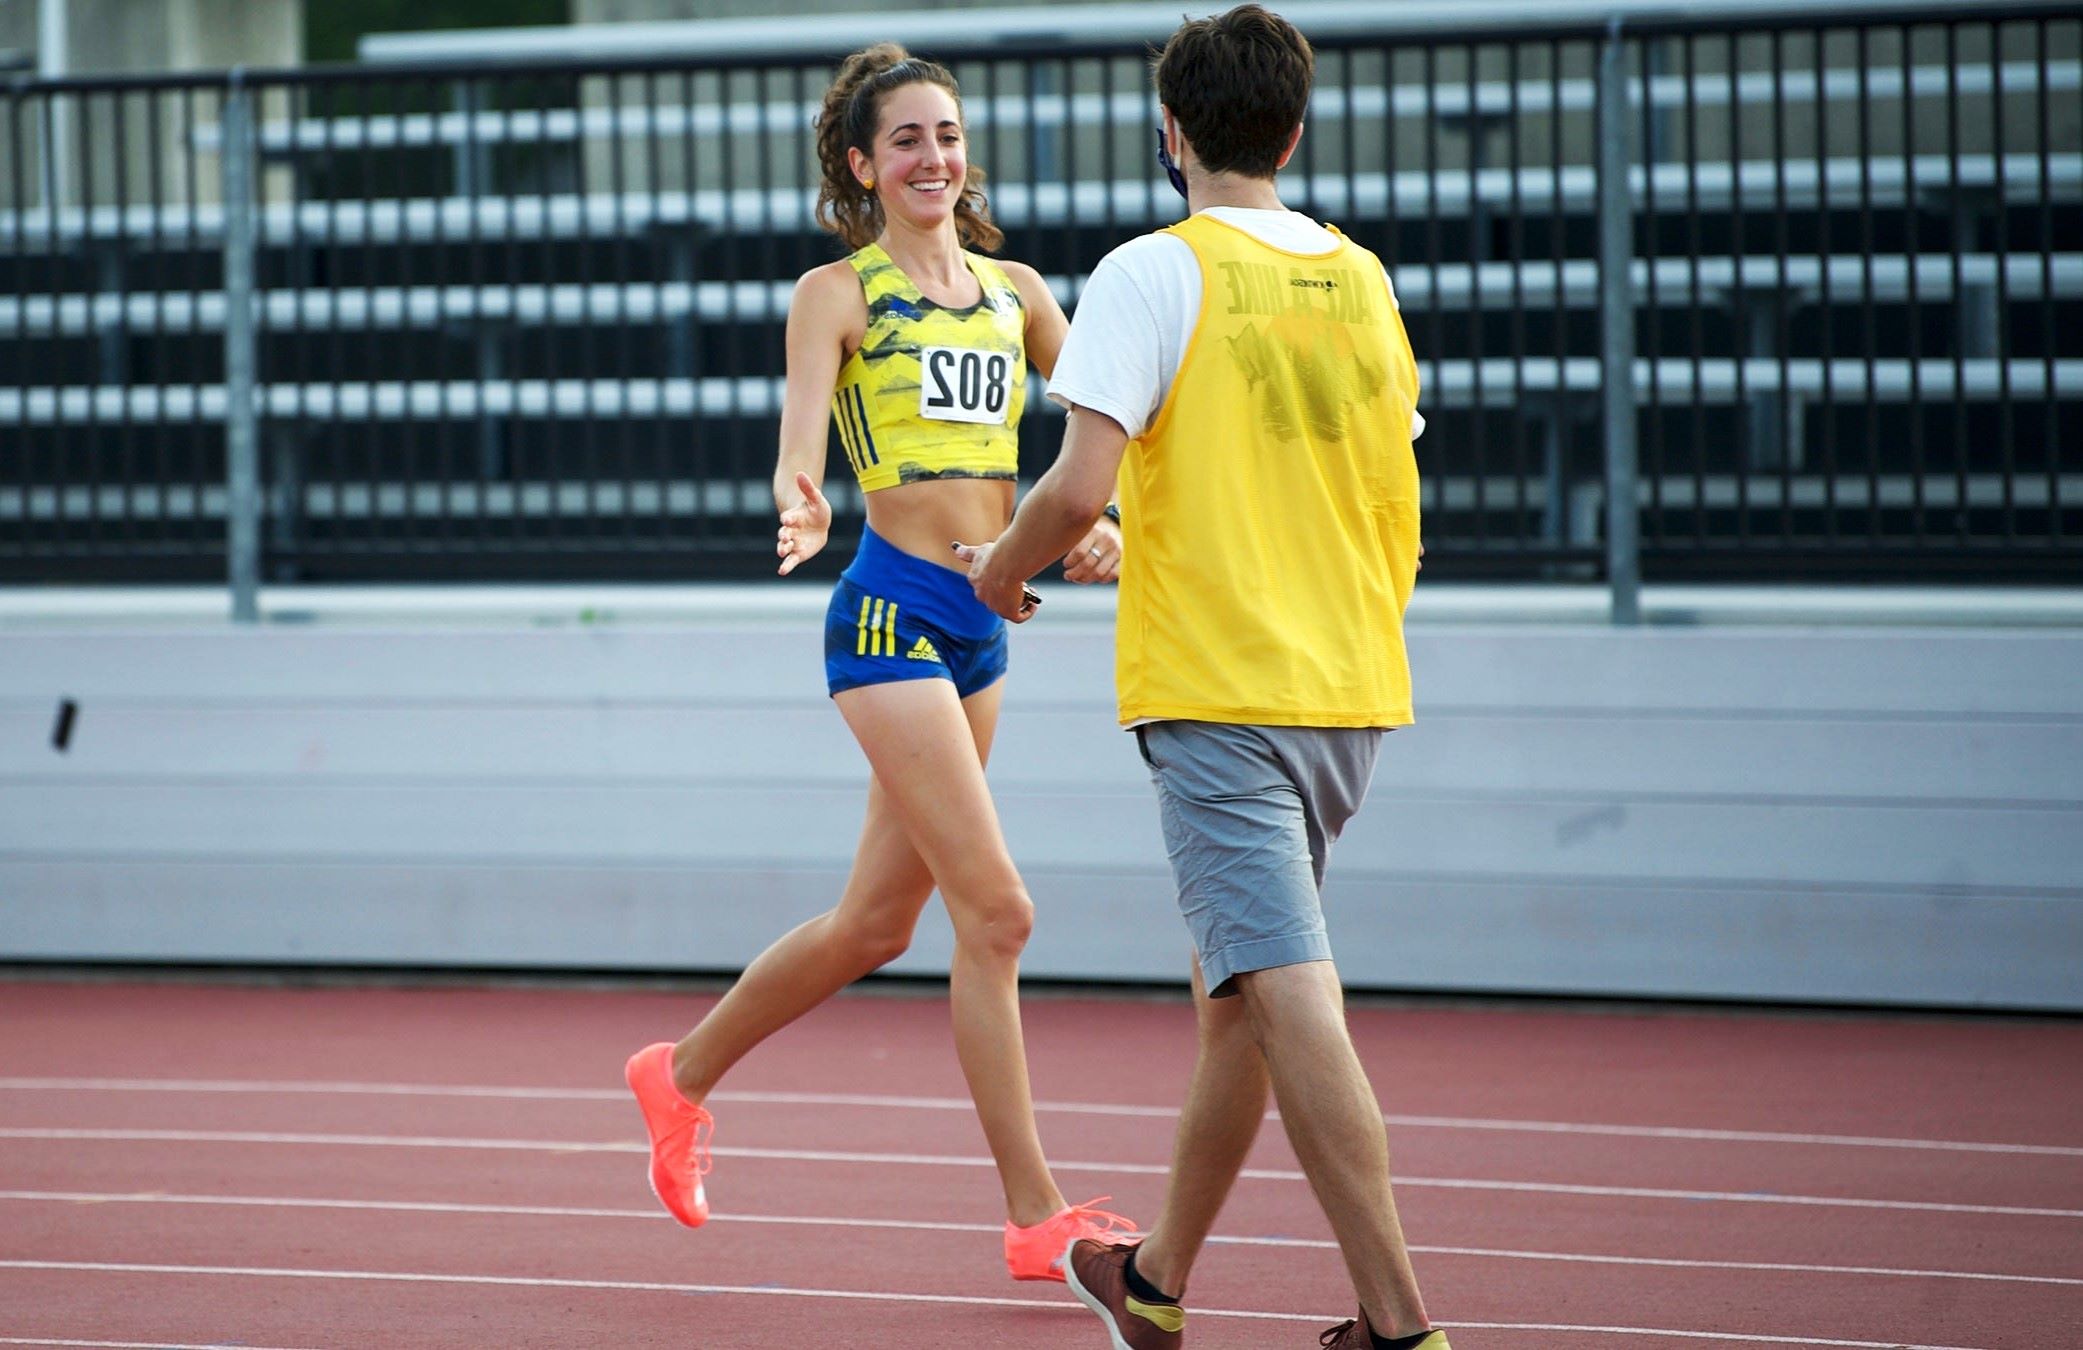
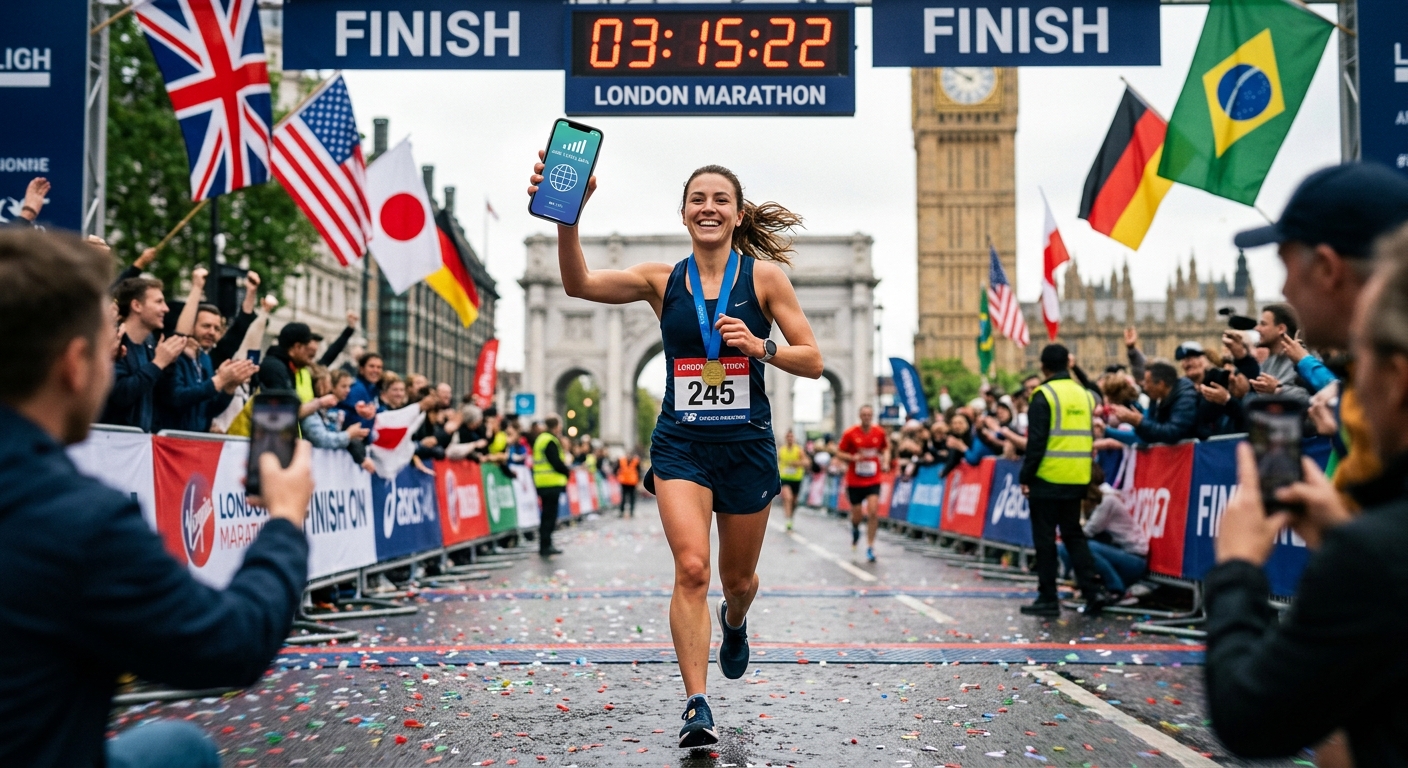
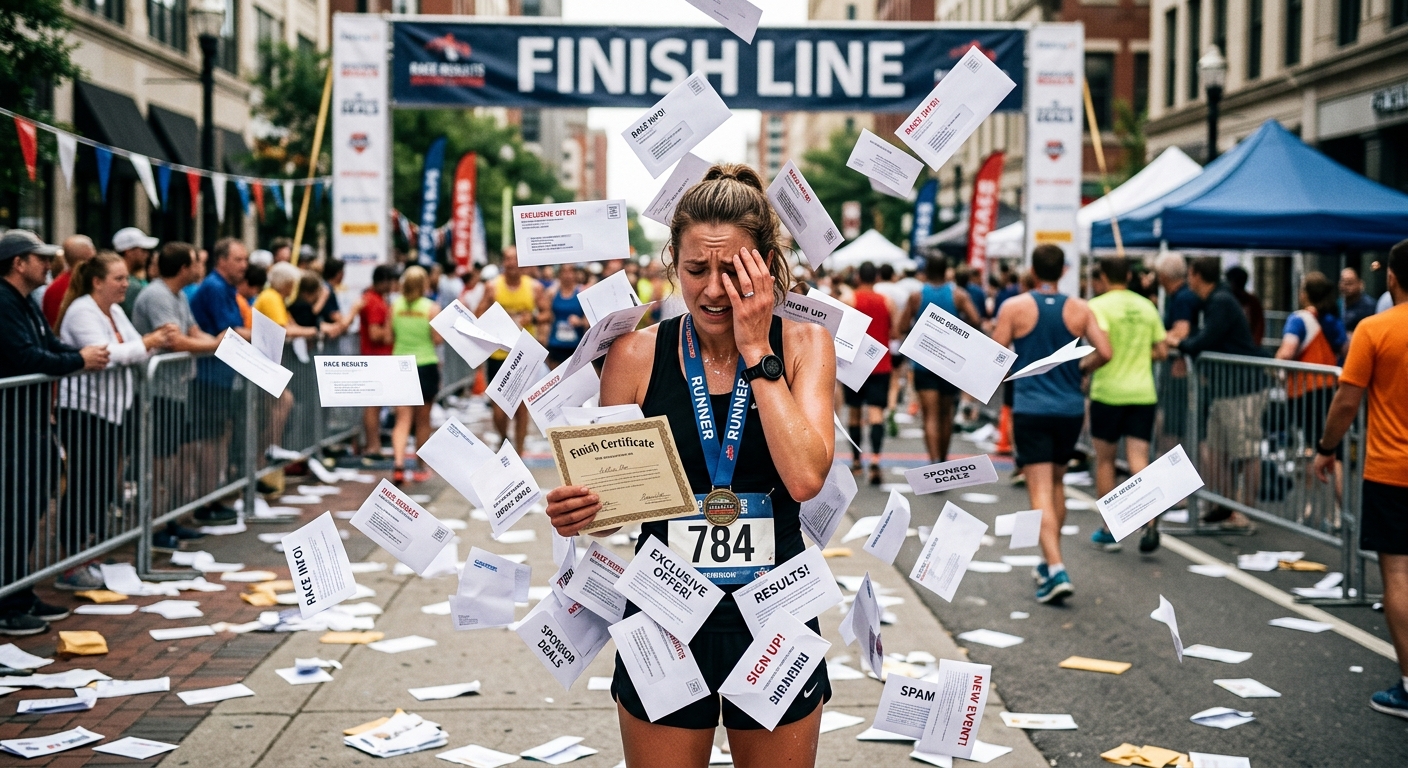
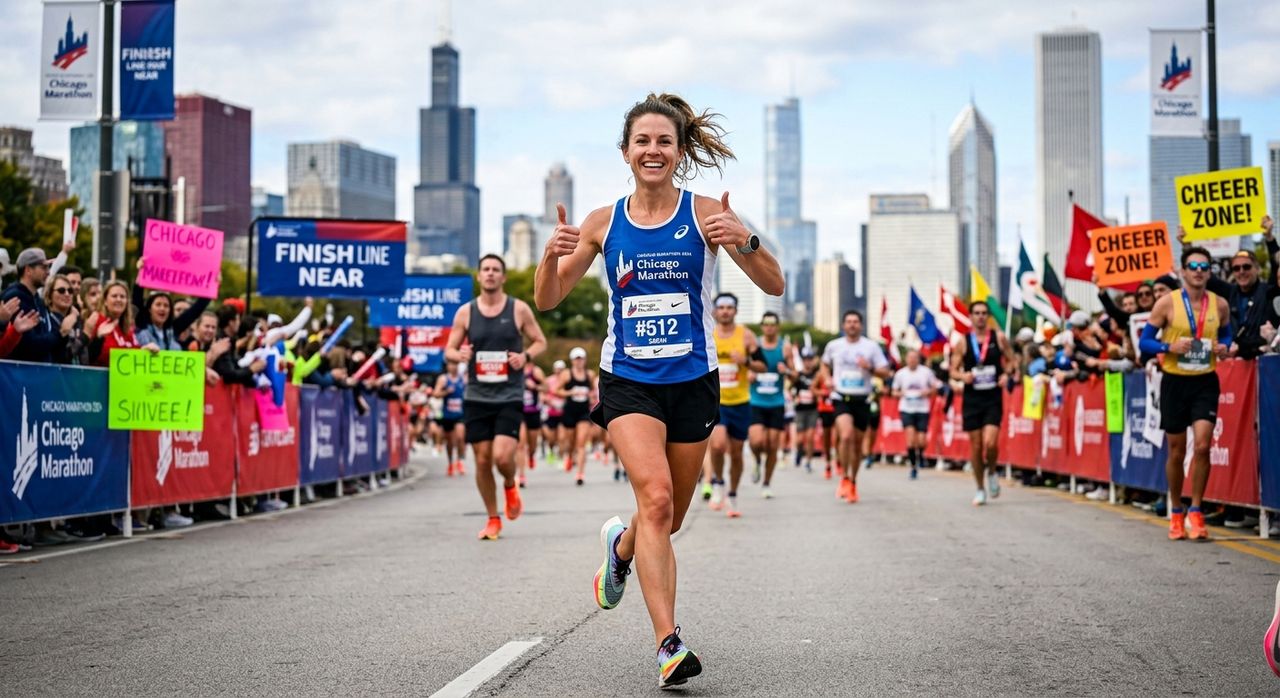
You crossed the finish line. You did the training, survived the miles, and earned that moment. Then the race photographer’s image arrives in your inbox and it is a mess. A timing gantry cuts through the frame, three other strangers are pressed against your shoulder, and a wall of crowd barriers surrounds the whole thing. The shot that should feel triumphant looks cluttered.
Three Things to Know:
1. Finish-line photography is almost always cluttered by barriers, crowds, and signage that the right tool can strip away in seconds.
2. Isolating yourself from a busy race background is the single editing step that turns a chaotic shot into a clean, shareable image.
3. Consistent posting on Instagram and Strava becomes far easier when you use pre-built design layouts made for runners who post regularly.
This is one of the most common frustrations for recreational runners who love sharing their race moments online. The good news is that a handful of simple editing steps can turn a chaotic race photo into something you are actually proud to post. You do not need a design degree or expensive software. You just need the right workflow.
Why Race Photos Look Chaotic in the First Place
Race photography is genuinely hard to do well. Photographers are working fast, handling crowds, and trying to catch hundreds of runners mid-stride. They cannot control the environment the way a portrait photographer can. That means your finish-line photo usually includes:
- Timing gantries and sponsor banners filling the upper half of the frame
- Other runners crossing at the same moment
- Barriers, cones, and race officials in the background
- Flat, harsh lighting if the race ends in full midday sun
- Motion blur from both you and the people around you
None of this is the photographer’s fault. It is just the nature of the event. And yet, that same photo, if cleaned up properly, often reveals a genuinely strong image underneath all the noise.
The Post-Race Editing Workflow That Works
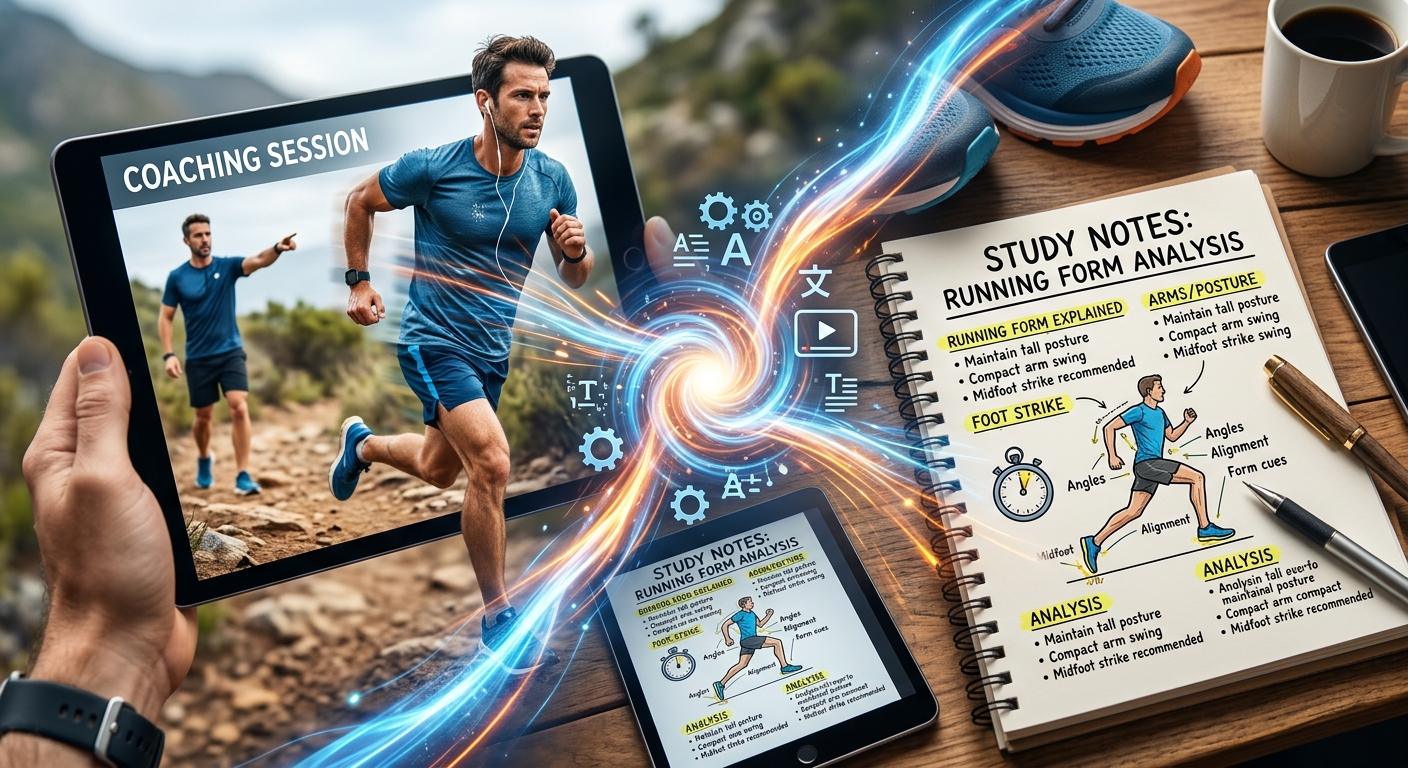
You do not need to spend hours on this. A focused workflow that takes twenty minutes can transform most race shots.
Step 1: Start With Crop and Straighten
Before touching anything else, crop out the worst clutter. If the timing gantry is eating the top of the frame, crop down so it disappears. If there are three people on your right and none on your left, shift the crop to rebalance the composition. A tighter crop that puts you firmly in the center or on a visual third looks far more intentional than the wide grab the race photographer had to take. Straighten the horizon while you are at it. Fixing a slight tilt takes five seconds and makes the image feel more controlled.
Step 2: Fix Exposure and Color
Most race photos suffer from either blown-out highlights or flat, dull shadows, depending on the time of day. Work through these adjustments in order:
- Bring down the highlights to recover detail in bright areas like the sky or white race bibs.
- Lift the shadows slightly so your face and legs are not lost in darkness.
- Add a small amount of contrast to restore the punch that flat lighting takes away.
- Adjust white balance if the image looks too orange from morning golden hour or too cool and blue from overcast skies.
This takes about two minutes and makes a significant difference before you touch anything else.
Step 3: Remove the Background
This is where most recreational runners stop short, but it is arguably the most powerful step. Isolating yourself from the rest of the image changes everything. The clutter disappears. You become the undeniable subject of the photo.
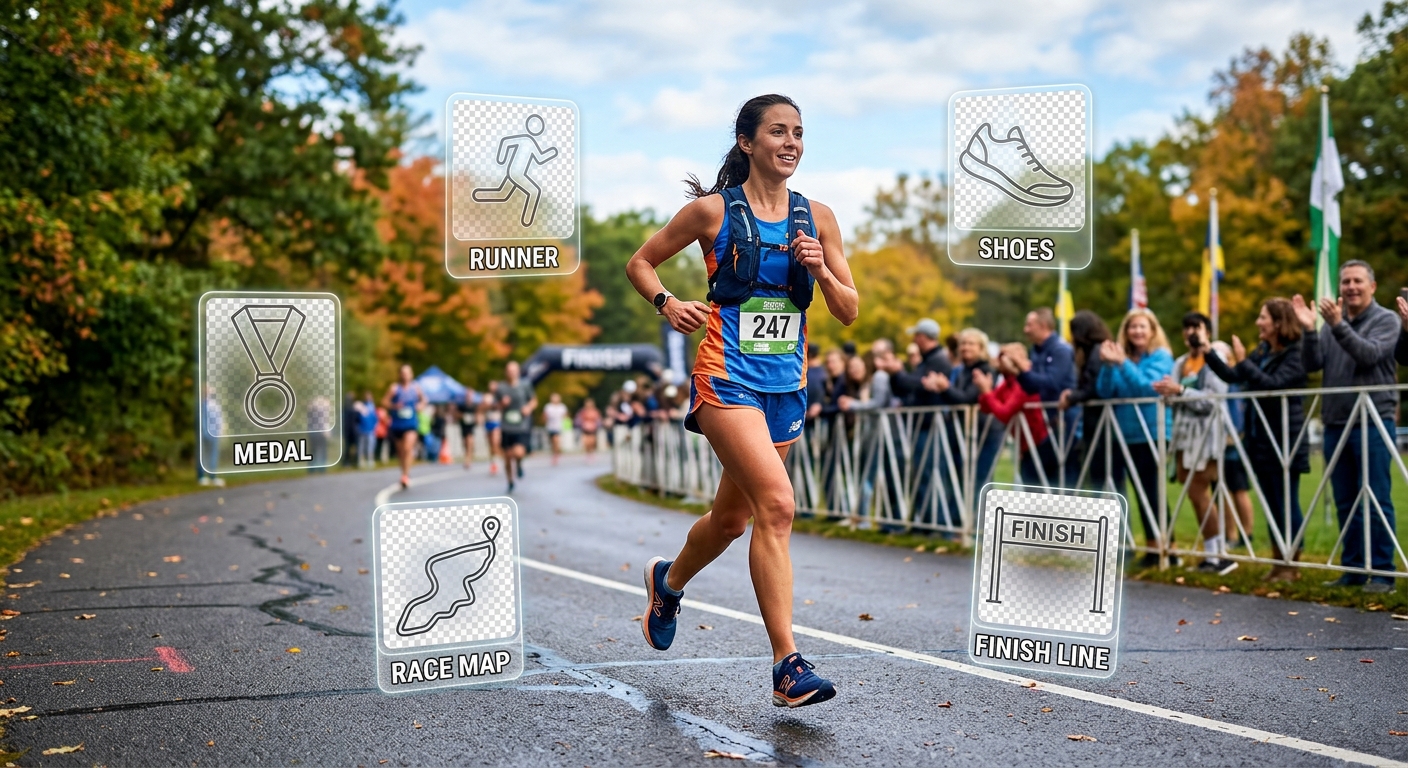
A good background remover uses AI to detect the edges of a person with accuracy that would have taken a professional designer an hour to achieve manually just a few years ago. You upload your race photo, the tool identifies you as the subject, and it strips away everything behind you. From there, you can drop in a clean backdrop, a gradient, a solid color, or keep it transparent if you plan to layer it into a graphic.
The result looks far more polished than the original and gives you real flexibility. Put yourself on a city skyline. Use a scenic shot from the race route. Or simply go white, which looks clean and sharp on any social feed. Digital photography editing tools have come a long way in the past decade, and AI background isolation is one of the clearest examples of that progress landing in everyday, consumer-grade tools that anyone can use without technical training.
Step 4: Add Text or Finish Details
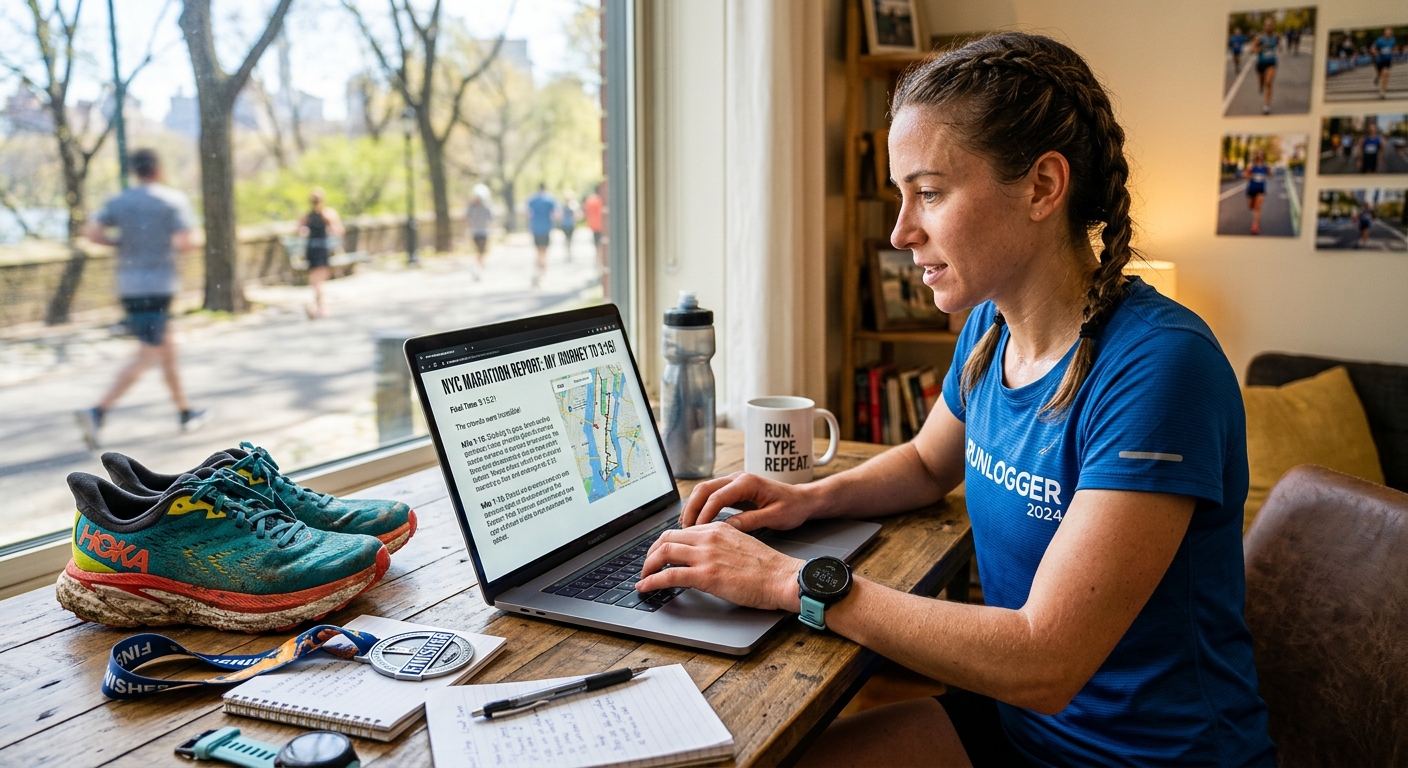
If you are posting a race result, adding the race name, your finish time, or a short line of text turns the photo into something that reads like a proper announcement rather than just a snapshot. This is where the second half of the workflow kicks in.
Building a Running Presence That Looks Consistent
One of the things that separates runners with polished Instagram or Strava feeds from everyone else is not talent with a camera. It is consistency. They use the same fonts, the same color schemes, and the same layouts across every post. That repetition makes a feed feel curated rather than random.
For runners who post regularly but are not designers, the practical solution is a set of ready-made social media templates built for this exact use case. You pick a layout that fits your aesthetic, drop in your race photo (ideally after you have already isolated yourself with the background step above), add your time or distance, and post. The design work is already done.
This matters more than it might seem. When you are posting after a long race weekend, tired and running on adrenaline, the last thing you want is to spend forty minutes in a design app. A template removes that friction entirely. Swap in your image, change two lines of text, and you are done.
Making It Work for Different Race Types
The workflow above applies across running events, but a few small adjustments are worth knowing.
5K and 10K races produce a lot of finish-line photos because the events move fast and photographers get many opportunities. You will likely have several shots to choose from, so pick the one with the cleanest angle before you start editing.
Half marathons and marathons often have photographers stationed at multiple points on the course, not just the finish. Mid-race action shots at the 10-mile mark or on a scenic stretch can actually produce better raw material than the finish-line chaos.
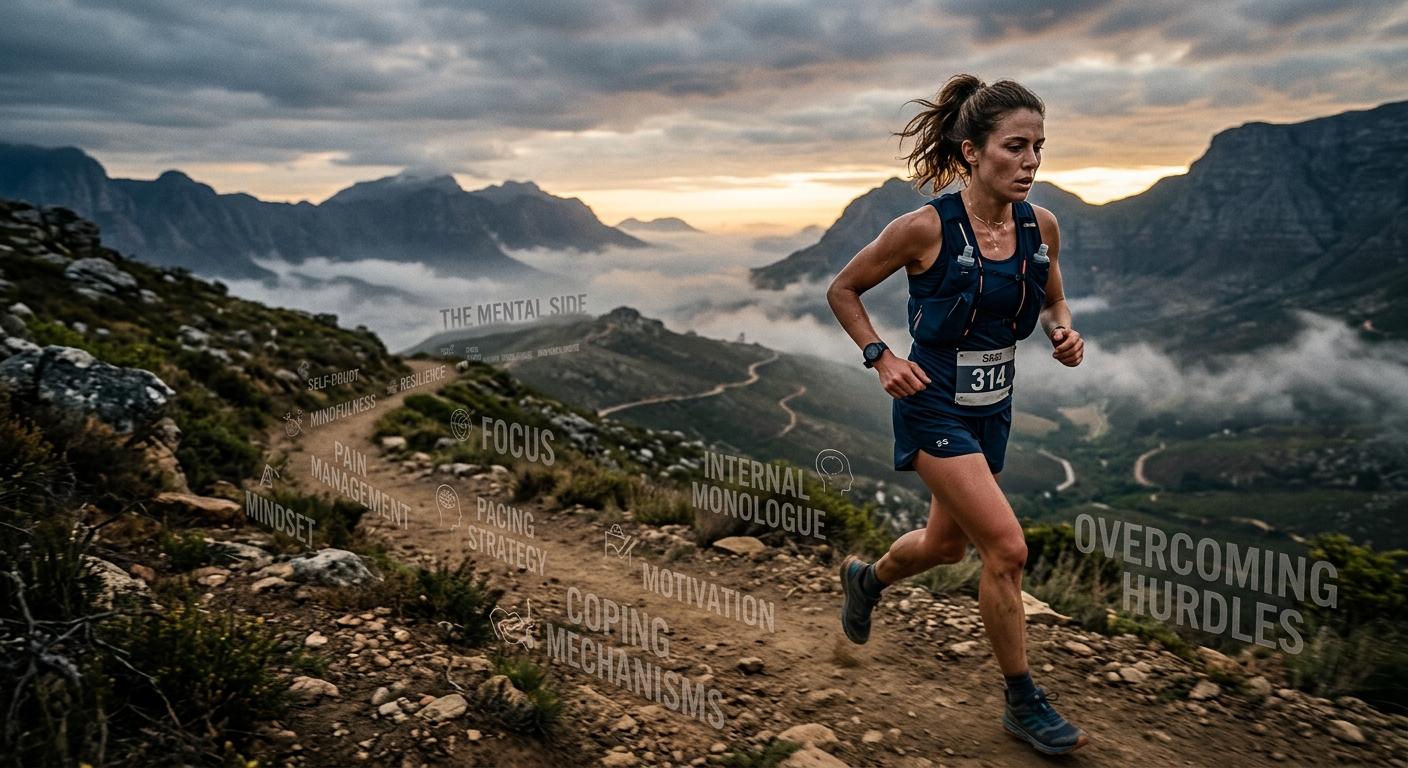
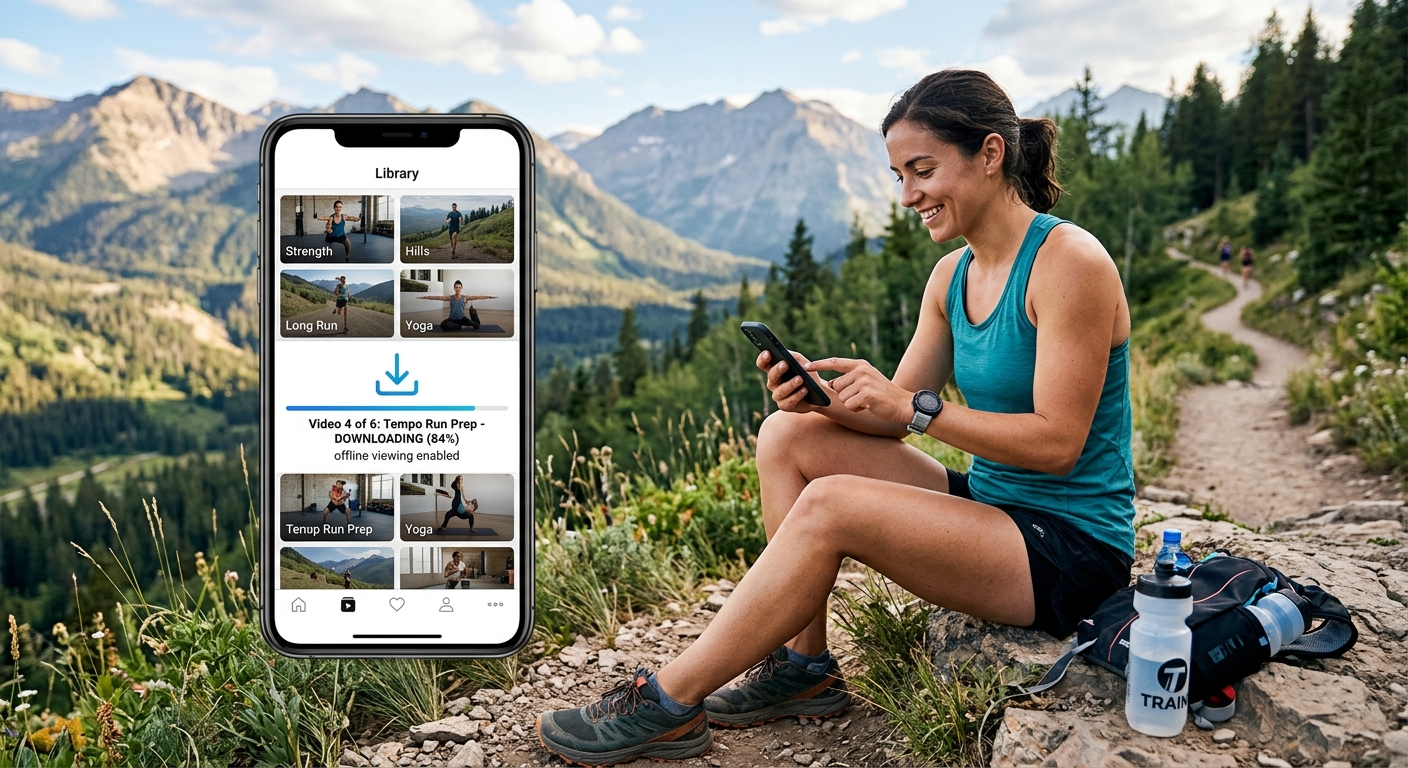
Trail races and obstacle runs often have dramatic natural backgrounds worth keeping rather than replacing. In those cases, you might skip the background removal step entirely and focus on color correction and cropping.
Virtual races mean you are capturing your own photos, which gives you full control over the background from the start. The templates still add a polished finishing touch.
The Angle People Overlook Before the Race Even Ends
Most runners think about their finish-line photo as something that happens to them, not something they can influence. But a small shift in mindset helps. Ask a friend or spectator to capture a few shots at a flattering angle, ideally slightly low and to the side, just before the finish line rather than right at it. That moment, three seconds before crossing, often shows better form and less clutter than the gantry shot.
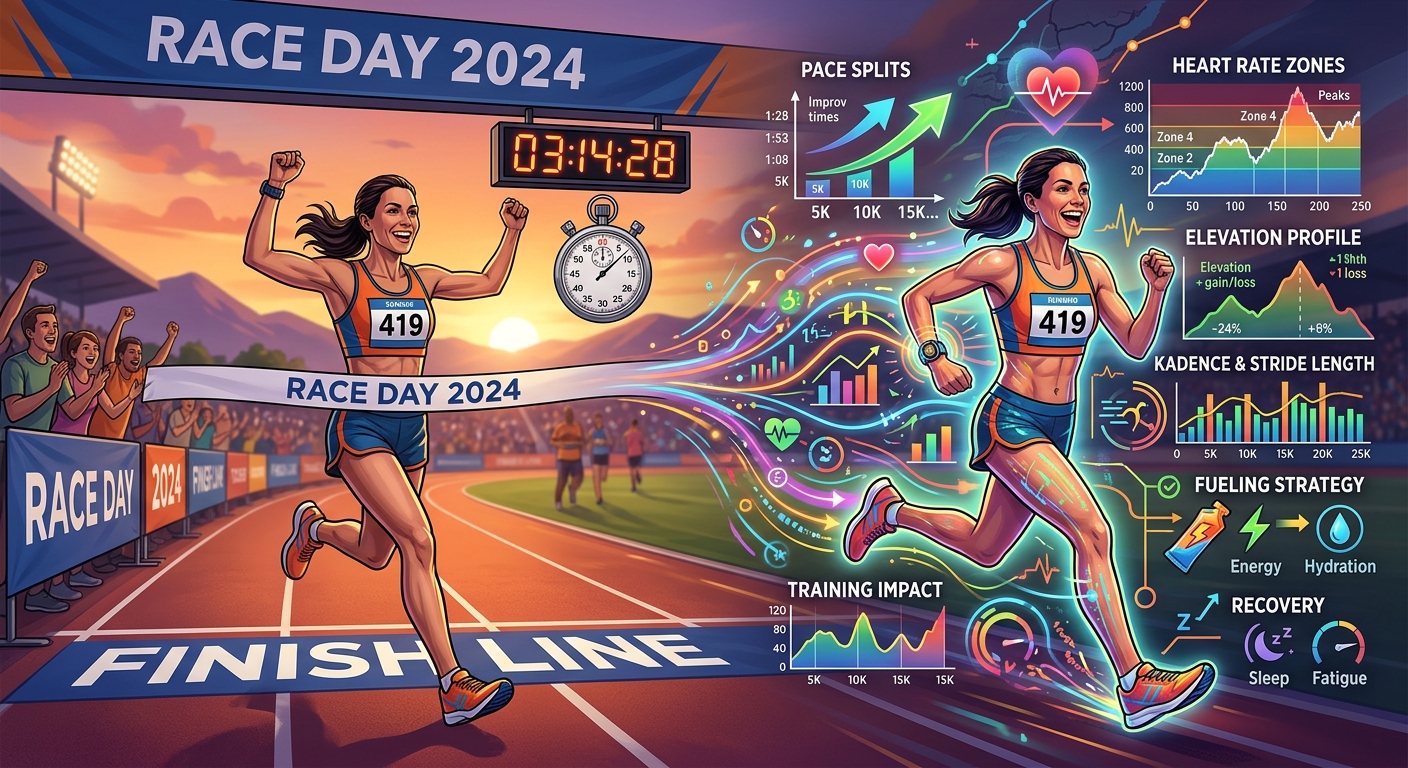
If you race with a GPS watch, your data overlay from Strava is a natural add-on to any post. Distance, pace, elevation, it all gives the photo context that pure images do not have. Combining that data card with a cleaned-up photo is one of the easiest ways to create a post that gets real engagement from your running community.
What Professional Race Packages Get Wrong
Some larger marathons now offer their own post-race photo apps or digital downloads with basic edits already baked in. These are convenient, but limited. You get the same generic crop and filter that thousands of other runners receive. The workflow described here is personal. It reflects your effort and your race, not a mass-produced preset.
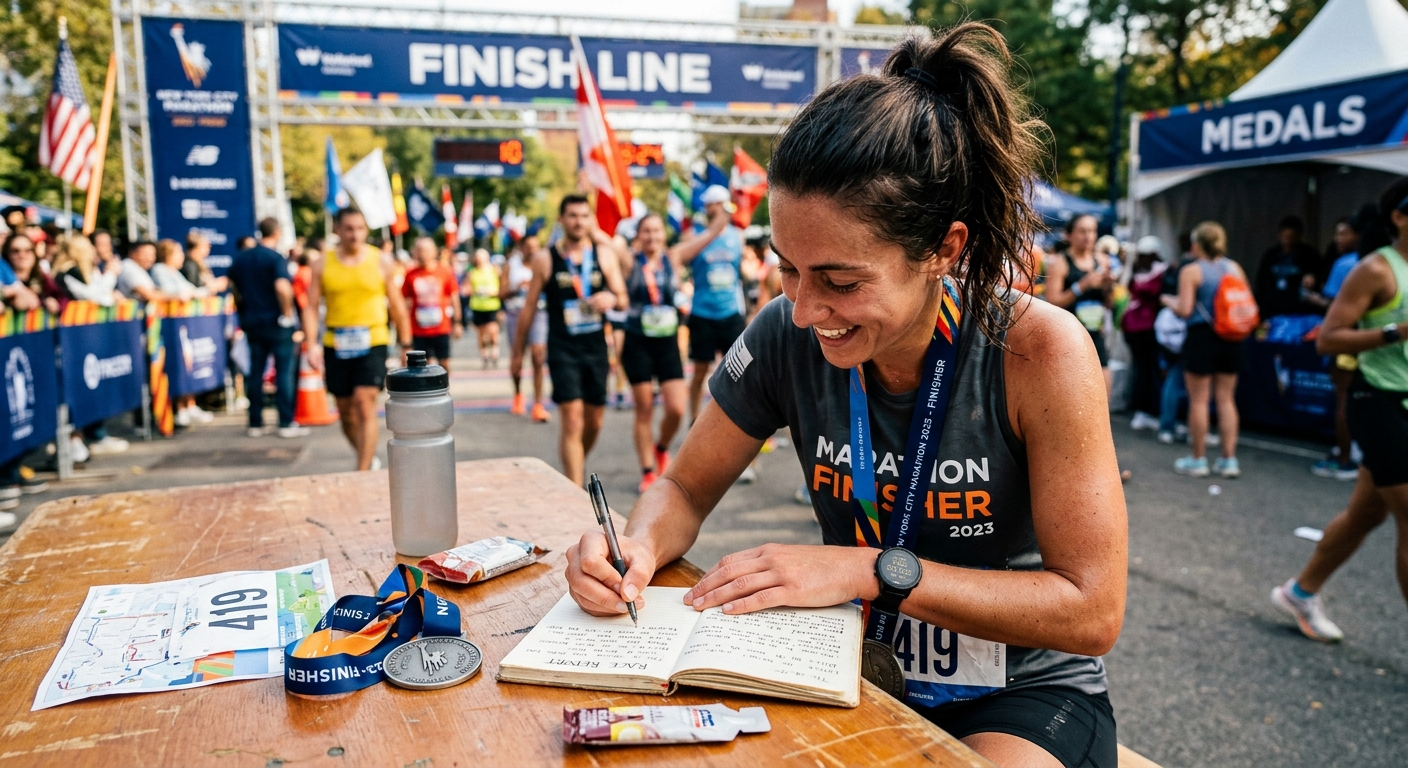
That is the point. Race photos, at their best, are personal documents. They are proof of something hard you did. Getting the presentation right just means the effort gets communicated clearly instead of disappearing into a cluttered background.
Your Race Shots Deserve the Frame You Earned
Crossing a finish line is not a small thing. Whether it is your first 5K or your tenth marathon, that moment is worth preserving properly. The editing steps here are not about vanity. They are about making sure the image matches the reality of what happened.
Crop the chaos. Fix the light. Strip the background when it helps. Use a template when you are posting regularly and want a consistent look without spending an evening on design. None of it requires expertise. It just requires the right tools in the right order.
Your race photo already has a great subject in it. You just have to let that person show.