Home>Races & Events>Local Races>How to Get More Out of Your Race Photos Without Hiring an Editor
Local Races
How to Get More Out of Your Race Photos Without Hiring an Editor
Published: August 16, 2026
Polish your finish-line and training photos for Strava and Instagram without hiring an editor. Free browser tools make it easy and fast.
(Many of the links in this article redirect to a specific reviewed product. Your purchase of these products through affiliate links helps to generate commission for Therunningadvisor.com, at no extra cost. Learn more)
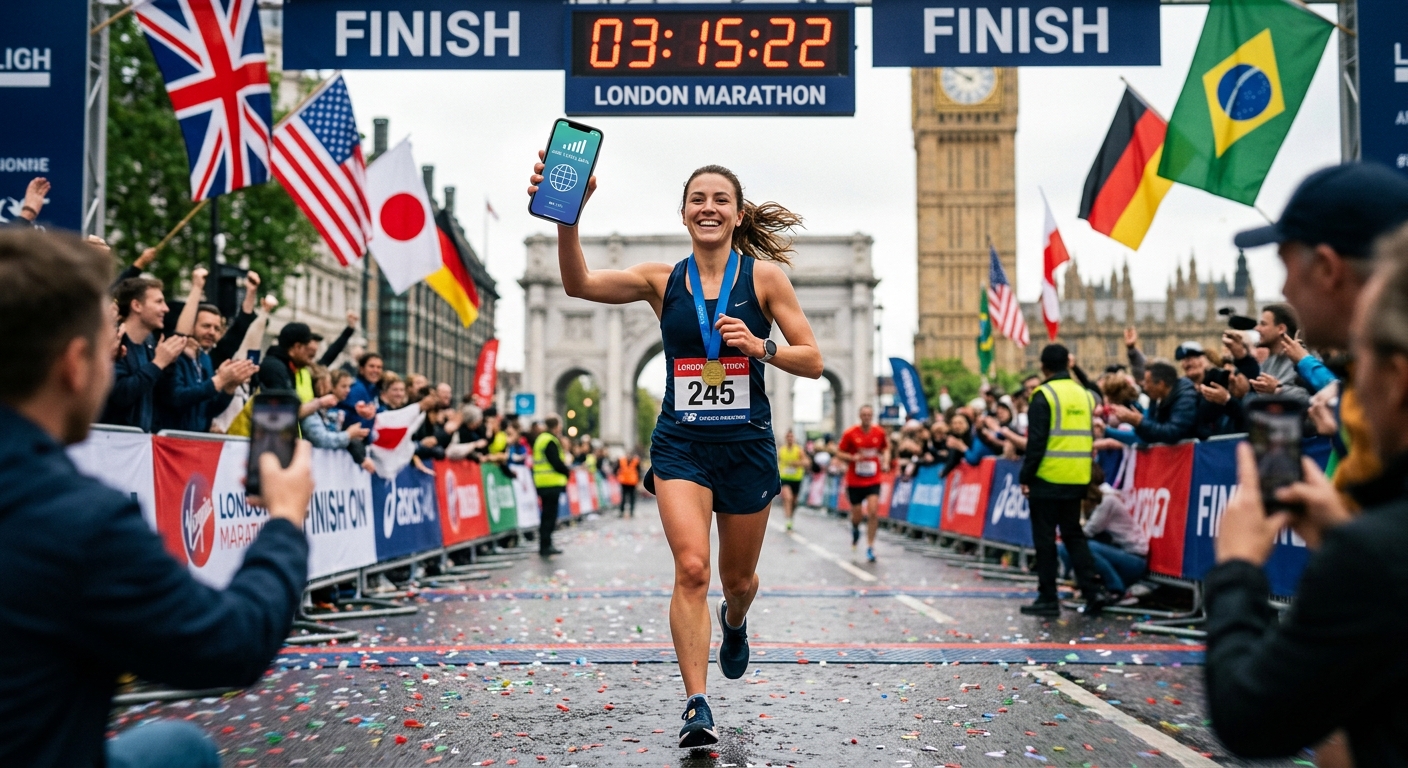
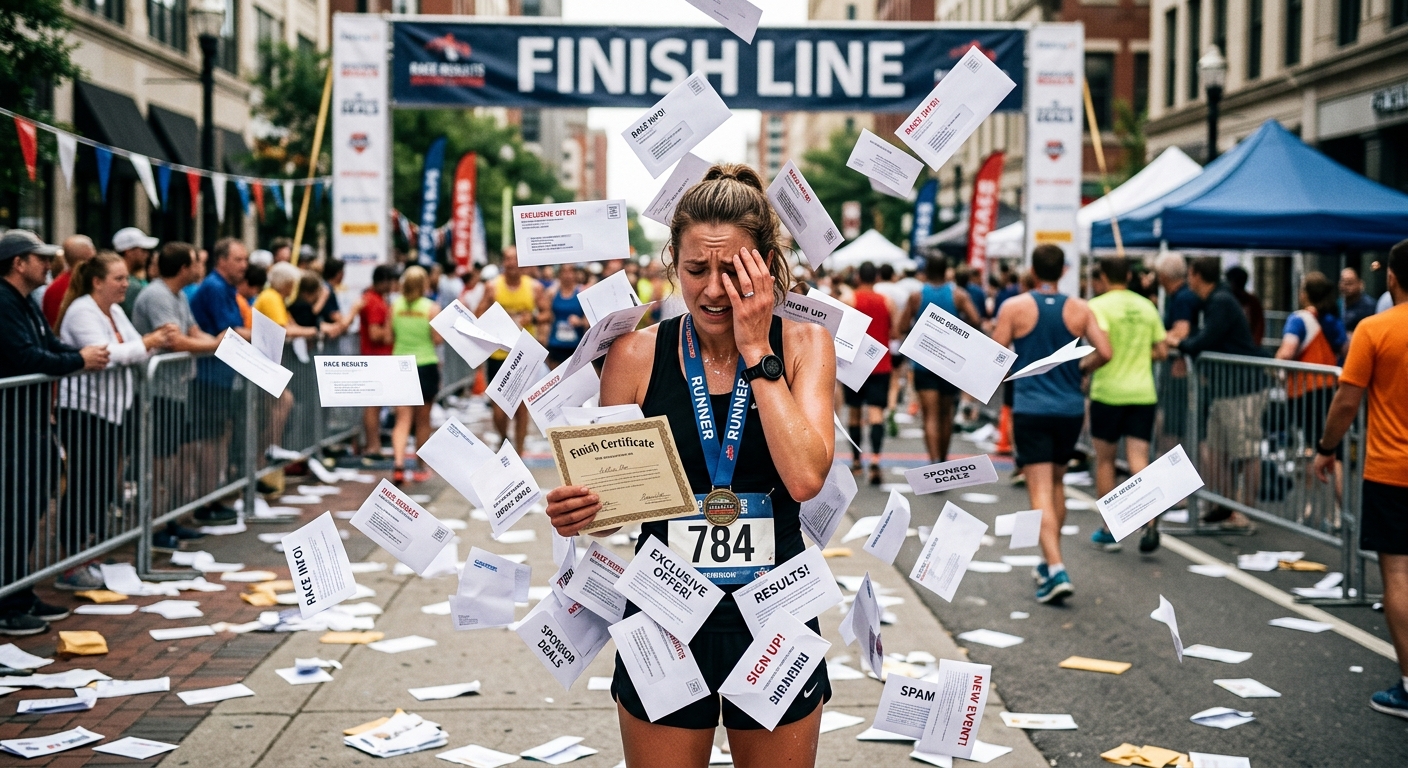
You crossed the finish line. You earned the medal. You even managed a smile for the camera despite running on empty. Then you get home, download the official race photos, and your heart sinks a little. Blurry background, washed-out colours, a stranger’s elbow cutting into the frame. Sound familiar? Most recreational runners end up with a folder full of raw JPEGs they never actually use. The good news is that you do not need to pay a photo editor or spend an afternoon learning Lightroom to fix that.
Your race photos are worth saving. Free browser-based tools can close the gap between a blurry race-day snapshot and something you would actually post or print.
– Raw finish-line photos often suffer from poor contrast, soft focus, or awkward composition that simple tools can correct.
– An AI image generator lets you reinterpret or stylise a photo without any design experience.
– A photo upscaler can turn a low-resolution JPEG into a file large enough to print and frame.
Why Race Photos Are Almost Always Disappointing
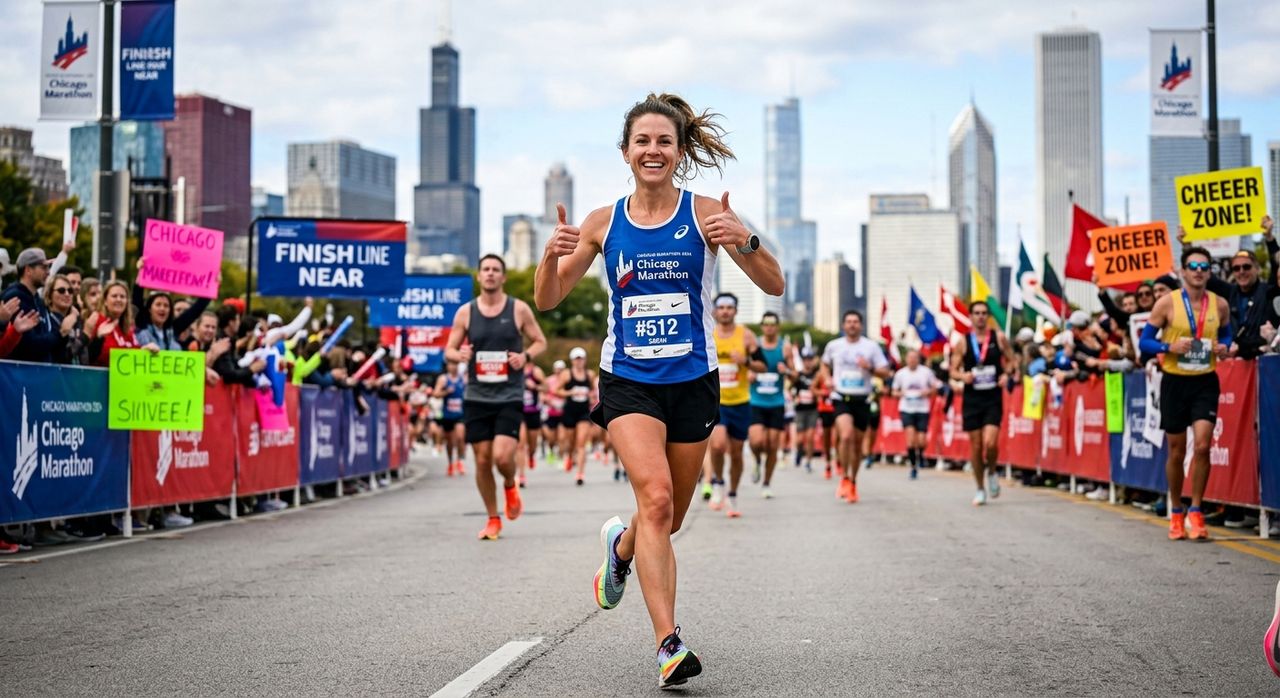
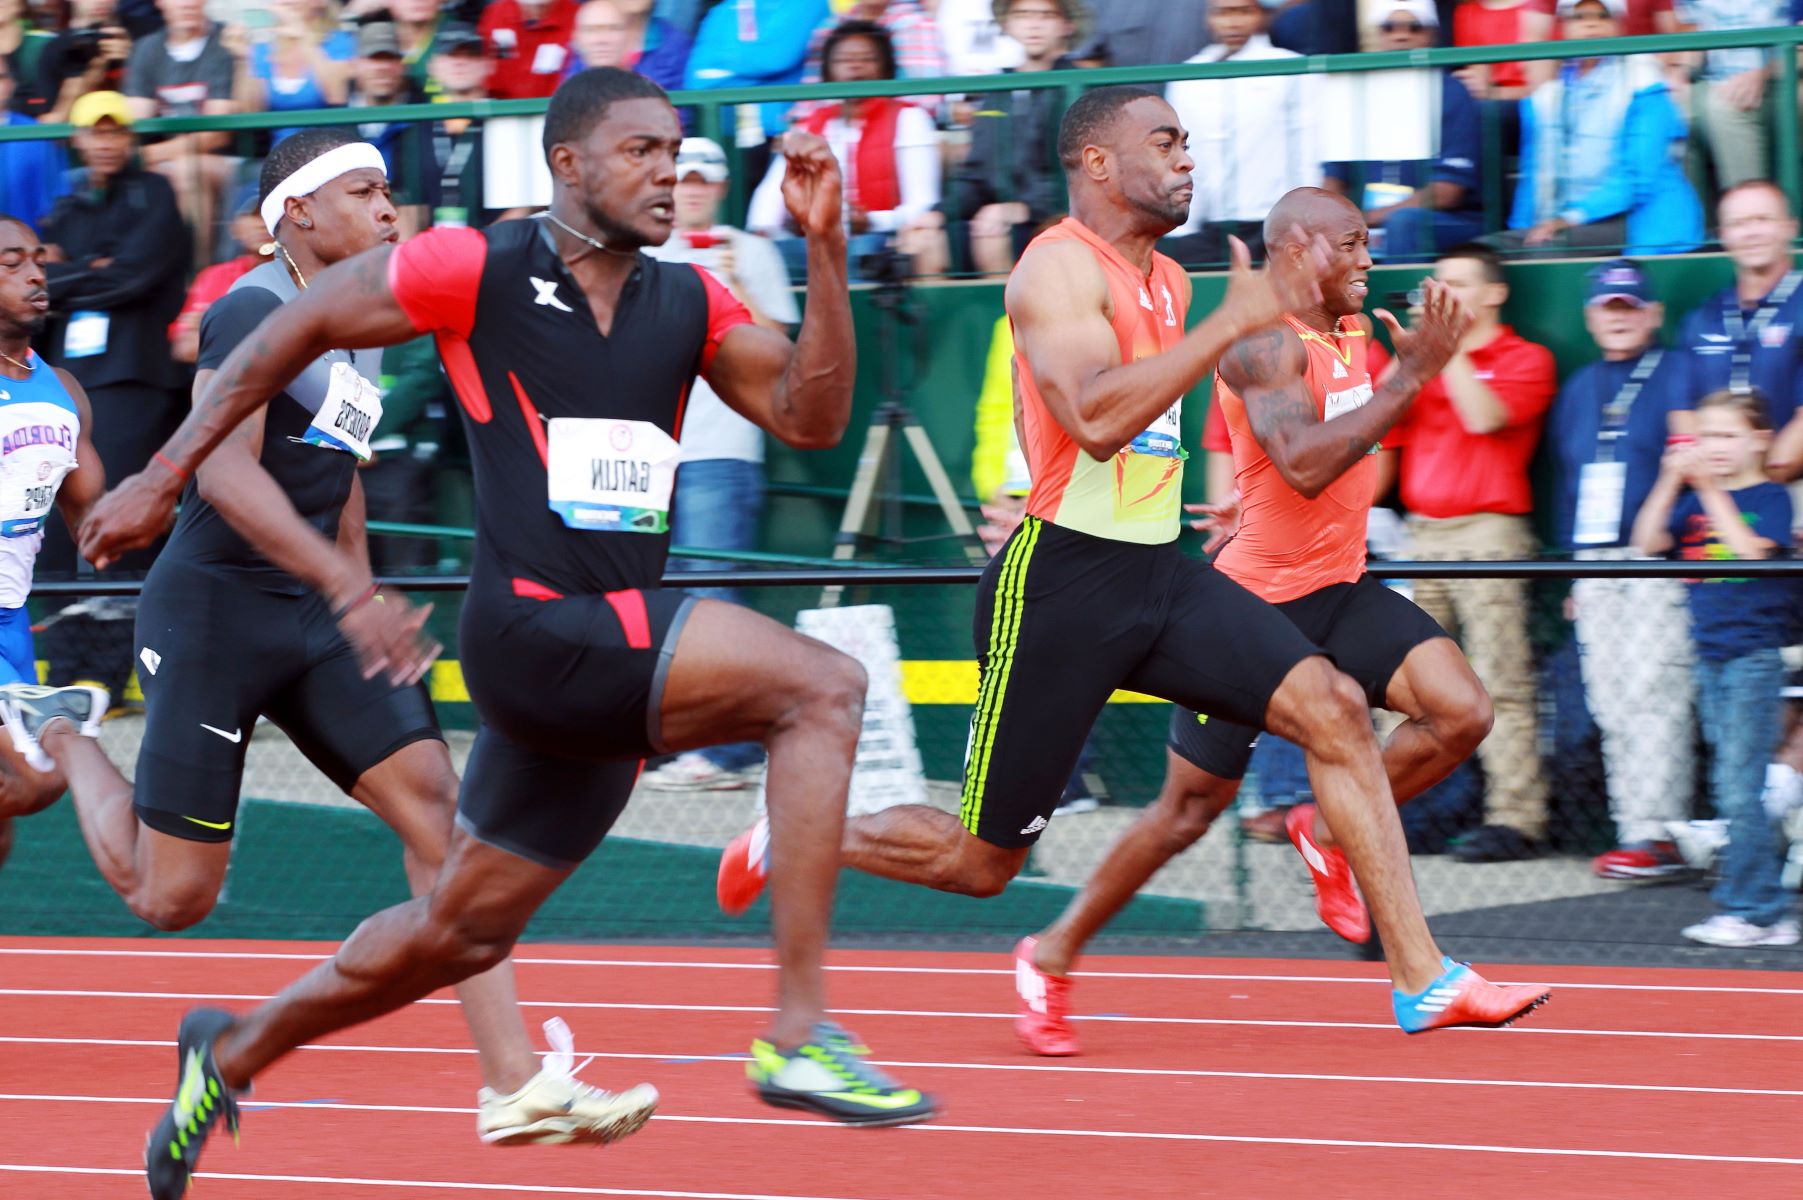
Official race photographers are shooting hundreds of runners every minute. They are not bad at their jobs. They are just working under conditions that make technically perfect images almost impossible. Midrace lighting changes fast. Runners are moving. The photographer is often shooting in burst mode and hoping for the best frame.
The result is a collection of images that capture a genuine moment but rarely look polished out of the box. Colours are flat. The background is cluttered. And if you were near the back of the pack, the lighting at your finish time was probably not ideal.
What you end up with is a photo that feels important, because it is, but looks like a photo taken by a stranger at a busy intersection.
The Ritual Nobody Talks About
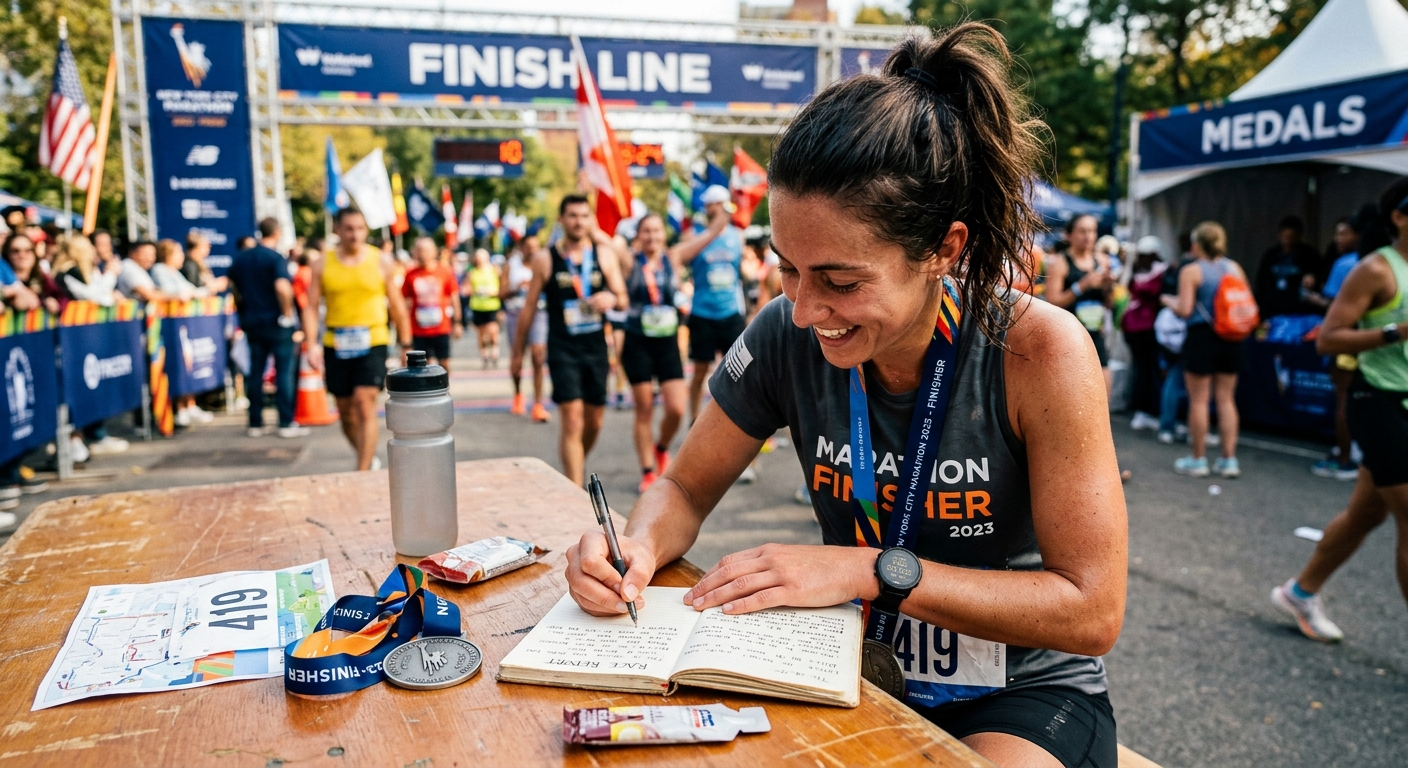
Ask any recreational runner what they do with race photos and you will hear the same story. They download the folder. They scroll through it once or twice. A few get saved to the camera roll. Maybe one makes it to Instagram with a heavy filter. The rest sit in a subfolder called “Race 2024” for the next three years.
It does not have to work that way. Here is what the post-race photo ritual could look like instead:
- Download the official photos and sort by finish-line shots first, because those are the ones worth working on.
- Flag the two or three that show your face clearly, even if the background or colour is off.
- Set aside any training photos where you were caught mid-stride with good form.
- Decide early whether you want a social-ready image, a printable version, or both.
That last step matters because the tool you reach for depends on what you actually want to do with the photo.
What “Polished” Actually Means for a Runner
Polished does not mean airbrushed. Nobody expects a race photo to look like a magazine shoot. What runners actually want is an image that looks intentional. One where the colours feel right, the subject is clear, and the overall impression is “this person finished a race” rather than “this person was photographed at a race.”
That is a lower bar than most people think, and it is one that free browser tools can clear without much effort.
The standard smartphone edit, brightness up, contrast up, a bit of saturation, gets you partway there. But if the original image has a flat sky, a distracting crowd behind you, or a composition that just does not work, tweaking sliders is not going to fix it.
That is where generative tools come in.
Stylising Your Race Shots Without Any Design Skill
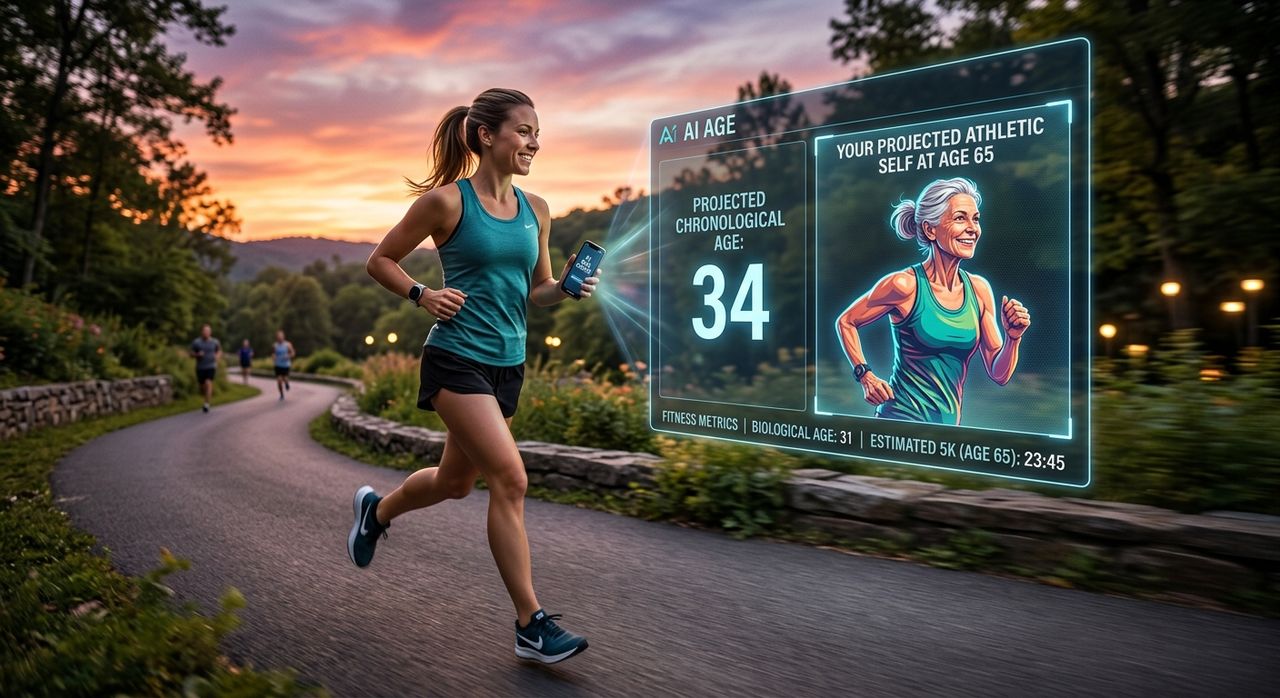
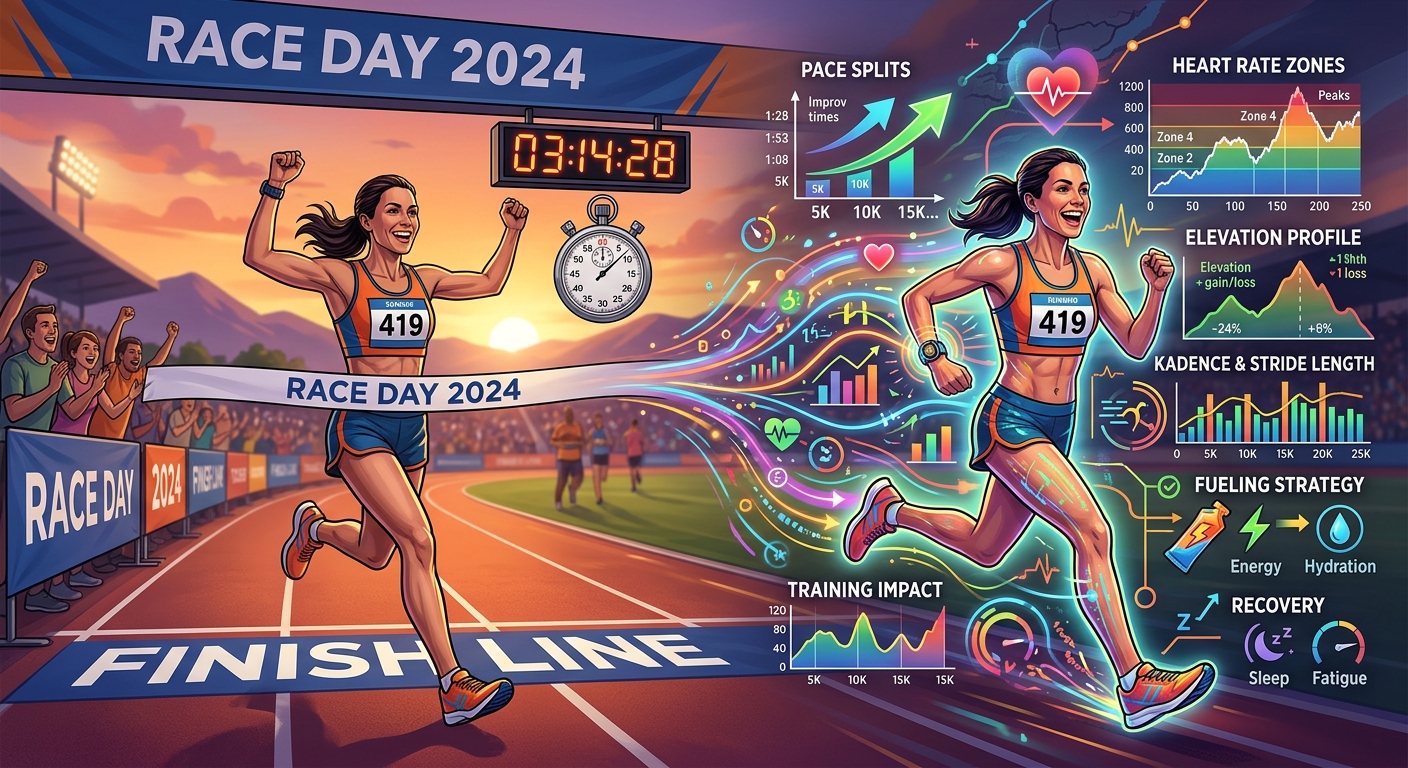
A free AI image generator gives you options that would have required a professional retoucher just a few years ago. You can upload a raw race photo and ask it to reinterpret the scene with a different background, a cleaner composition, or a visual style that matches your personal brand on Instagram.
For example, if your finish-line shot has a cluttered crowd in the background, you can ask the tool to replace it with a clean stadium scene or a blurred landscape. If the lighting is grey and flat, you can prompt it toward a golden-hour look. If you want a more stylised image for your running blog header, you can go further, turning the photo into something that looks illustrated or cinematic.
What Works Best as Source Material
The AI works best when your source image is sharp on the subject, meaning your face and body are in focus, even if the background is not. It also helps if:
- The runner is the clear centre of the frame, not partially cut off at the edge.
- The pose reads as “running” rather than “standing awkwardly mid-stride.”
- The original lighting, however flat, is at least consistent across the image.
You do not need a technically perfect photo to get a good result. The tool handles the creative heavy lifting. Your job is to give it something recognisable to work with.
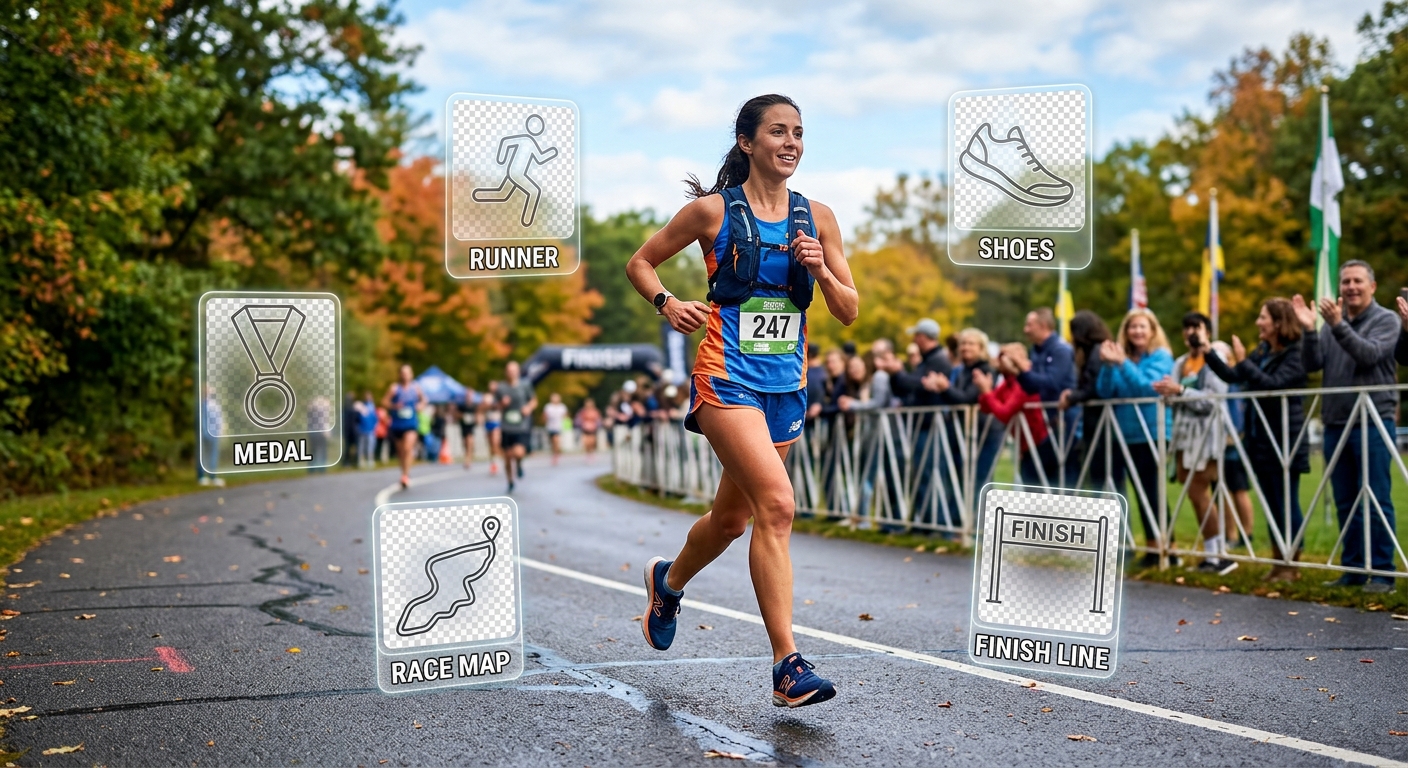
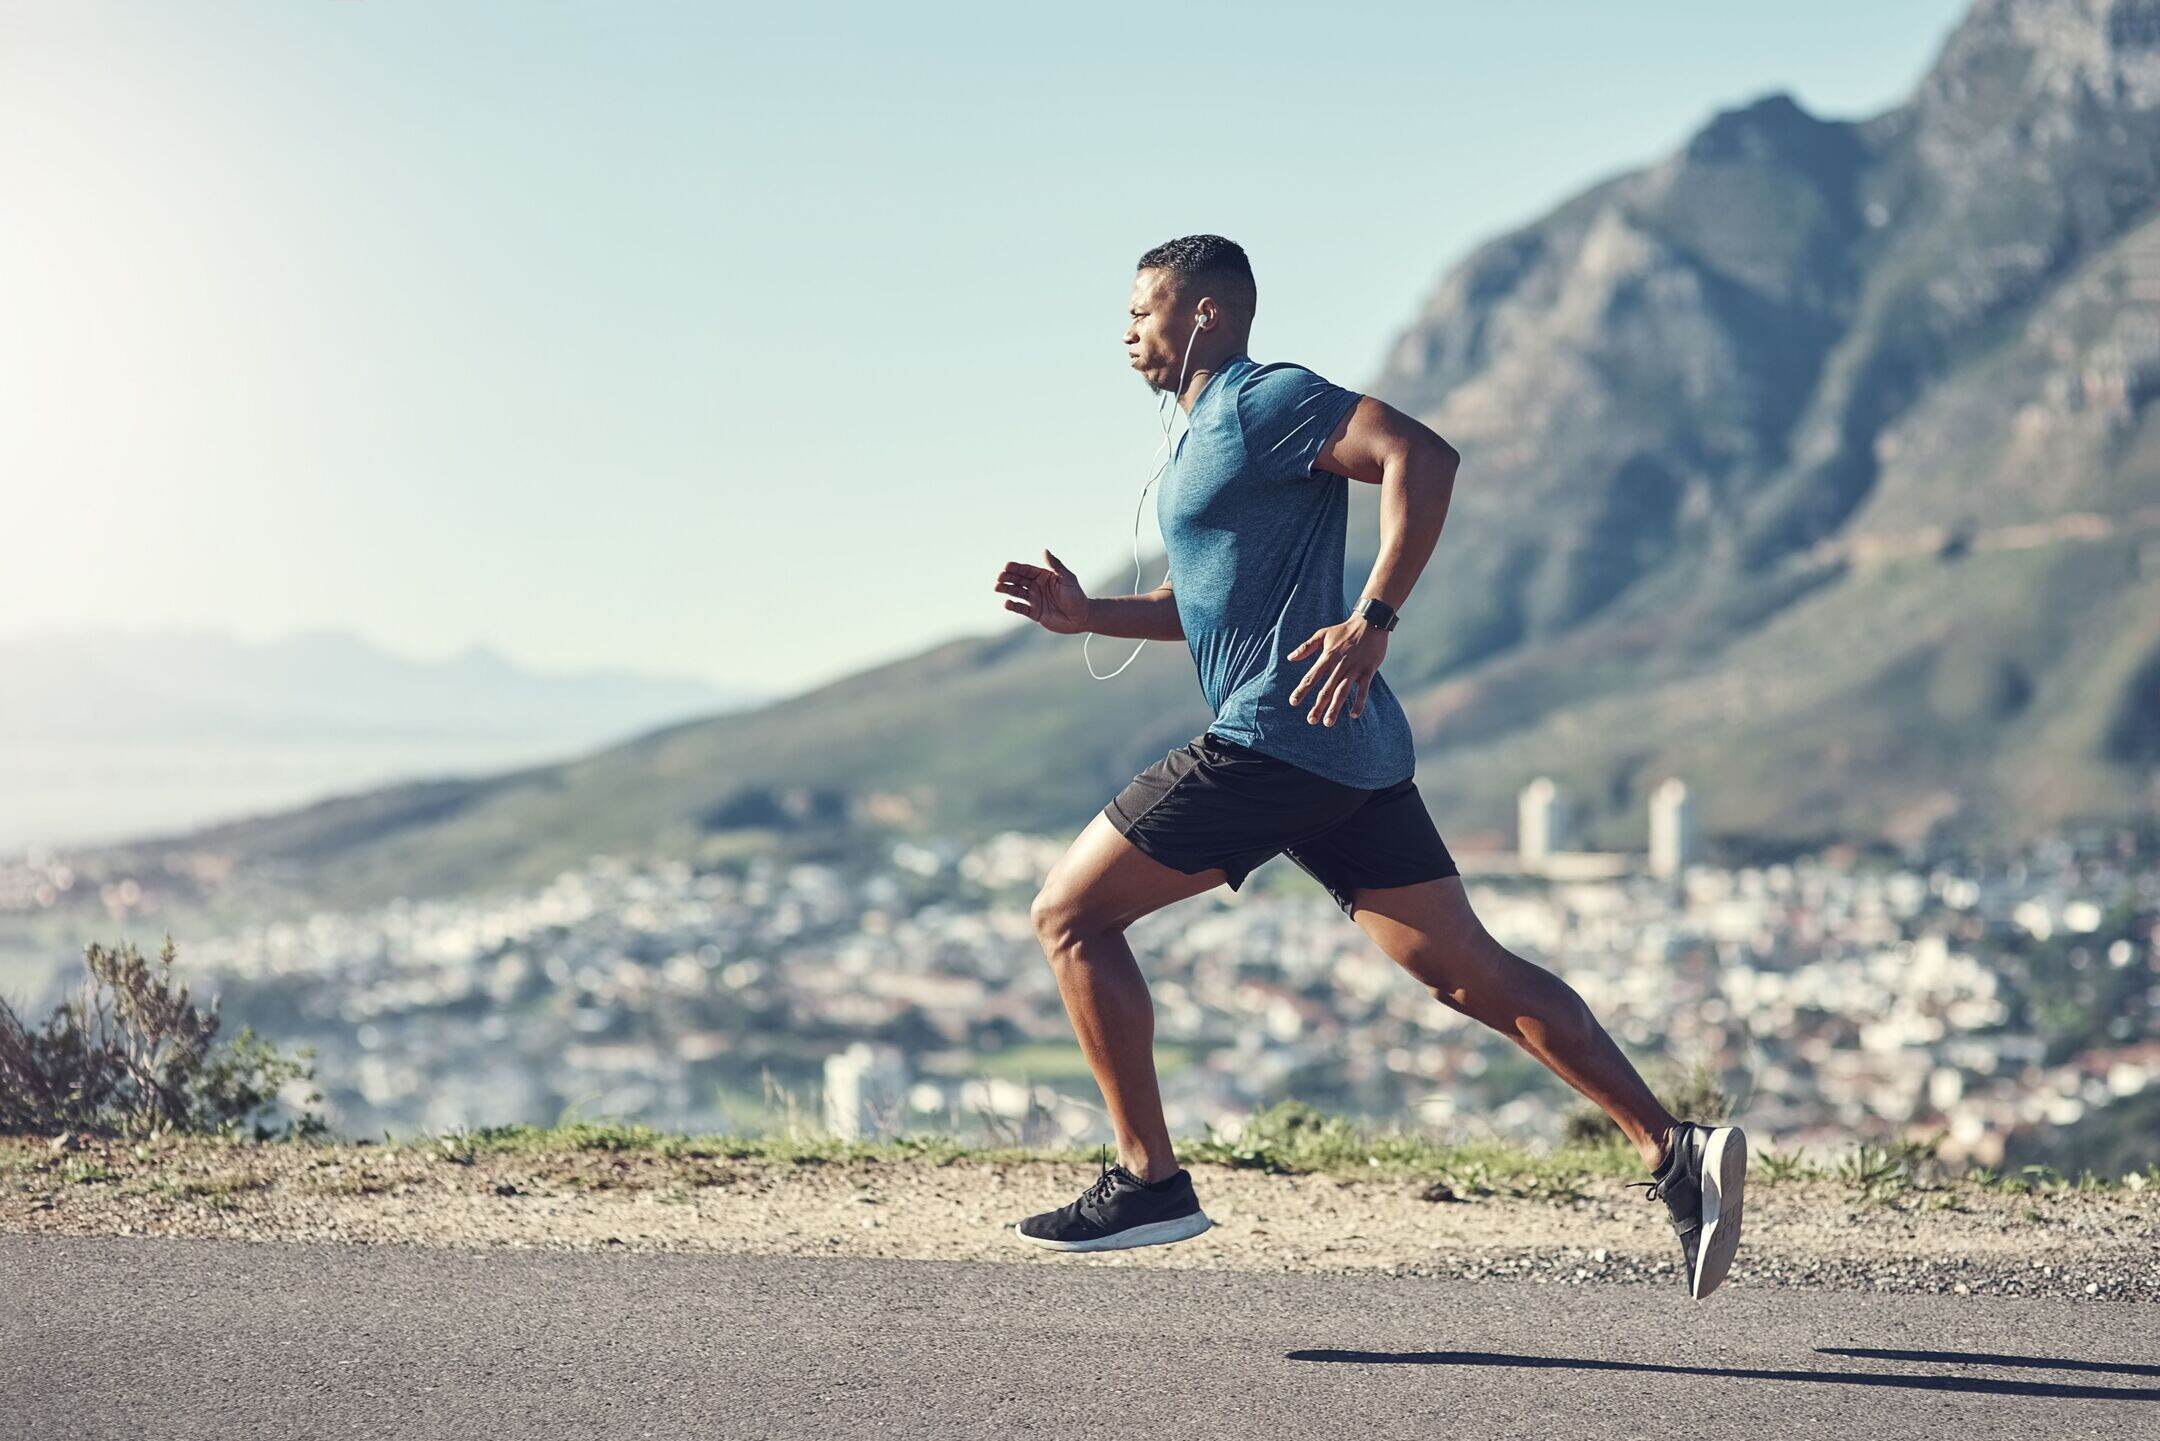
This approach is particularly useful for training photos taken by a friend with a phone, where the subject might be great but the execution is rough. A single upload and a short text prompt can turn a blurry track session photo into something worth posting.
When You Want to Print That Finish-Line Moment
There is a specific kind of runner who wants more than a social post. They want a framed photo on the wall. A 5K personal best, a first marathon, a trail race with a view at the top. These are moments worth printing.
The problem is that most race photos, whether official or taken on a phone, are not delivered at a resolution that supports large prints. A JPEG that looks fine on a phone screen often falls apart at A3 size or larger. You start to see the pixels. The image looks soft and grainy on paper in a way it never did on a screen.
JPEG compression, the standard used for almost every race photo you will ever receive, trades file size for image detail. The more compressed the file, the more detail is lost, and that loss becomes visible the larger you print.
A dedicated image upscaler solves this. It analyses the existing pixels and uses trained models to intelligently add detail rather than just stretching the original. The output is a higher-resolution file that holds up at print size in a way the original never would.
The practical workflow is straightforward:
- Start with your best finish-line photo, the one where your expression and posture actually look good.
- Run it through the upscaler and choose a target size that matches your intended print dimensions.
- Download the upscaled file and send it to a local print shop or an online printing service.
- Frame it. Put it somewhere you will see it before your next run.
That last step is not trivial. Research on visual cues and self-motivation suggests that having a physical reminder of a past achievement in your environment reinforces the identity of being a runner, which matters for consistency. The photo on the wall earns its place.
Getting Your Photos Ready to Share
Once you have a stylised or upscaled version of your race photo, the sharing step is straightforward. But a few habits will make your posts land better across different platforms.
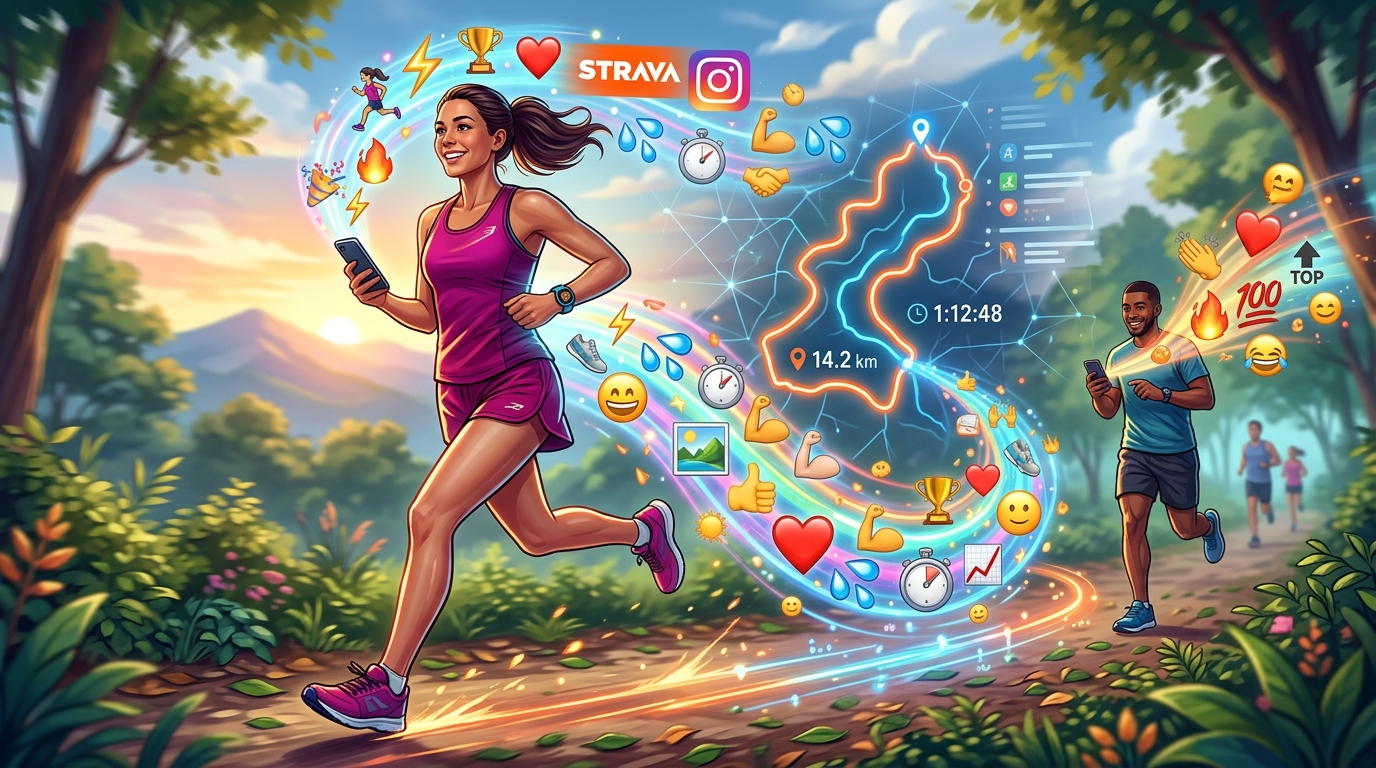
For Strava, the activity photo shows in a square crop. Centre the runner in the frame before uploading. Strava’s audience is other runners, so you do not need to over-explain the context. Let the photo do the work.
For Instagram, a 4:5 portrait ratio takes up more vertical space in the feed and gets more attention. If your race photo is landscape, consider cropping into the runner rather than showing the full scene.
For a personal running blog, you have more room to use the stylised version. A more artistic interpretation of a race-day moment fits naturally as a header image or a post illustration. The AI-generated version of your photo, one where the background has been recomposed or the colour palette shifted, can look intentional and polished in a way that a straight race photo sometimes does not.
Two things worth keeping in mind for all platforms:
- A photo with clear emotion in the runner’s face performs better than one where the runner is looking down or their face is hidden.
- Pairing the photo with a short story in the caption, what the race meant, what went wrong, what you would do differently, tends to generate more engagement than a photo posted without context.
From the Finish Line to the Frame
Race photos are not just documentation. They are proof. Proof that you showed up, that you pushed through, that you crossed a line you set for yourself. The fact that most of them end up buried in a downloads folder is a small but fixable problem.
Free browser tools have genuinely closed the gap between what a recreational runner can do on their own and what used to require professional software or a hired editor. A stylised version of your finish-line photo for Instagram and a print-ready file for the wall are both achievable in under an hour, with no subscription and no learning curve.
The best race photo you have ever taken is probably already sitting in a folder somewhere. It just needs a little work to become the version you actually want to look at.